MvP Instance System: Difference between revisions
| Line 83: | Line 83: | ||
|- | |- | ||
| | | | ||
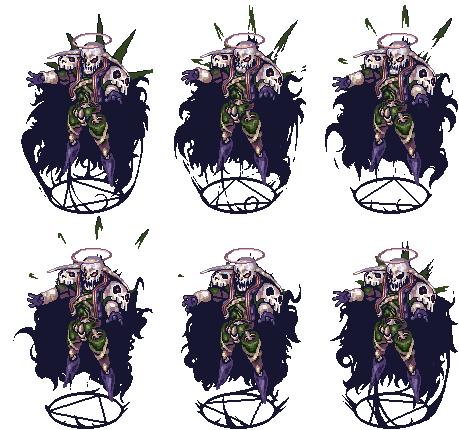
Dracula | '''Dracula''' | ||
[[File:Dracula.gif]] | [[File:Dracula.gif]] | ||
| Line 95: | Line 95: | ||
1x available Instance attempt | 1x available Instance attempt | ||
|| | || | ||
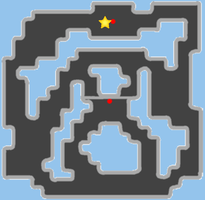
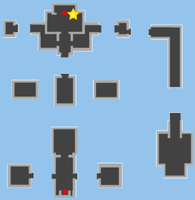
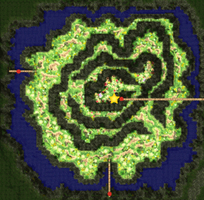
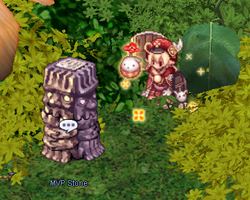
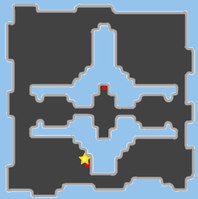
Geffen Dungeon F1 (gef_dun00 101, 165) | '''Geffen Dungeon F1 (gef_dun00 101, 165)''' | ||
[[File:imagen_2024-09-22_230605912.png|205px]][[File:Doppelgangertomb.png|250px]] | [[File:imagen_2024-09-22_230605912.png|205px]][[File:Doppelgangertomb.png|250px]] | ||
| Line 108: | Line 108: | ||
Dracula Card (0.01%) | Dracula Card (0.01%) | ||
|- | |- | ||
|Doppelganger | |'''Doppelganger''' | ||
[[File:Doppelganger.gif]] | [[File:Doppelganger.gif]] | ||
| Line 120: | Line 120: | ||
1x available Instance attempt | 1x available Instance attempt | ||
|| | || | ||
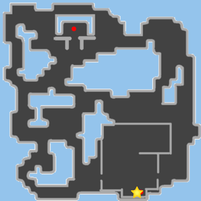
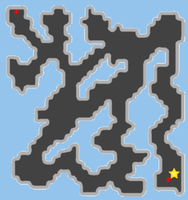
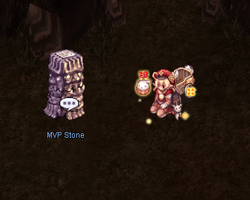
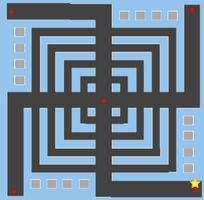
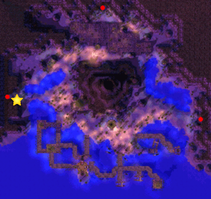
Geffen Dungeon F2 (gef_dun01 191, 39) | '''Geffen Dungeon F2 (gef_dun01 191, 39)''' | ||
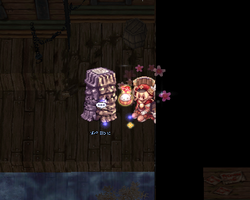
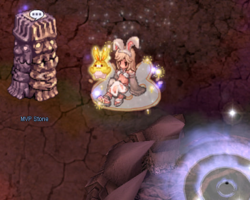
[[File:imagen_2024-09-22_231435328.png|201px]][[File:Draculatomb.png|250px]] | [[File:imagen_2024-09-22_231435328.png|201px]][[File:Draculatomb.png|250px]] | ||
| Line 135: | Line 135: | ||
|- | |- | ||
| | | | ||
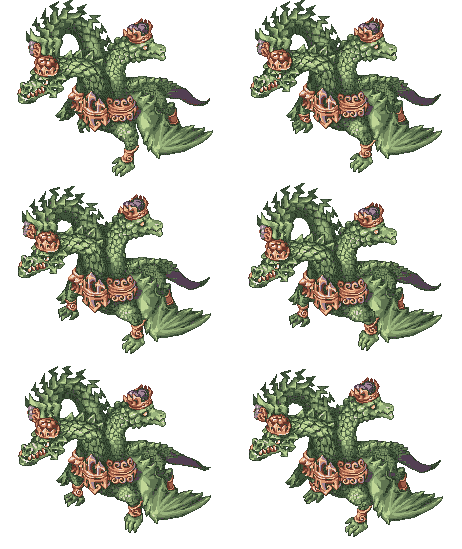
Drake | '''Drake''' | ||
[[File:Drake.gif]] | [[File:Drake.gif]] | ||
| Line 146: | Line 146: | ||
1x available Instance attempt | 1x available Instance attempt | ||
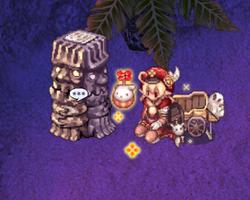
|| Sunken Ship F1 (treasure01 81, 172) | || '''Sunken Ship F1 (treasure01 81, 172)''' | ||
[[File:imagen_2024-09-22_232627423.png|195px]][[File:Draketomb.png|250px]] | [[File:imagen_2024-09-22_232627423.png|195px]][[File:Draketomb.png|250px]] | ||
| Line 162: | Line 162: | ||
Drake Card (0.01%) | Drake Card (0.01%) | ||
|- | |- | ||
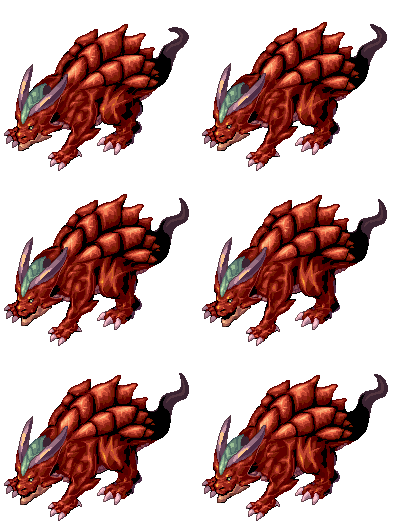
| | | '''Eddga''' | ||
Eddga | |||
[[File:Eddga.gif]] | [[File:Eddga.gif]] | ||
| Line 175: | Line 174: | ||
1x available Instance attempt | 1x available Instance attempt | ||
|| | || | ||
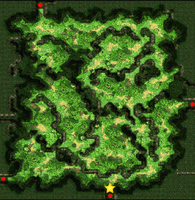
Sograt Desert (moc_fild03 173, 25) | '''Sograt Desert (moc_fild03 173, 25)''' | ||
[[File:imagen_2024-09-22_233526670.png|195px]][[File:Eddgatomb.png|250px]] | [[File:imagen_2024-09-22_233526670.png|195px]][[File:Eddgatomb.png|250px]] | ||
| Line 189: | Line 188: | ||
Eddga card (0.01%) | Eddga card (0.01%) | ||
|- | |- | ||
| | | '''Evil Snake Lord''' | ||
Evil Snake Lord | |||
[[File:Evil_Snake_Lord.gif]] | [[File:Evil_Snake_Lord.gif]] | ||
| Line 202: | Line 200: | ||
1x available Instance attempt | 1x available Instance attempt | ||
|| | || | ||
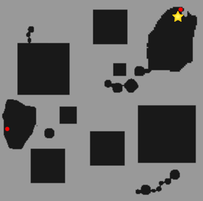
Hermit's Checkers (gon_dun02 147, 258) | '''Hermit's Checkers (gon_dun02 147, 258)''' | ||
[[File:imagen_2024-09-22_235421810.png|203px]][[File:ESLtomb.png|250px]] | [[File:imagen_2024-09-22_235421810.png|203px]][[File:ESLtomb.png|250px]] | ||
| Line 212: | Line 210: | ||
Evil Snake Lord card (0.01%) | Evil Snake Lord card (0.01%) | ||
|- | |- | ||
| | | '''Garm''' | ||
Garm | |||
[[File:Garm.gif]] | [[File:Garm.gif]] | ||
| Line 225: | Line 222: | ||
1x available Instance attempt | 1x available Instance attempt | ||
|| | || | ||
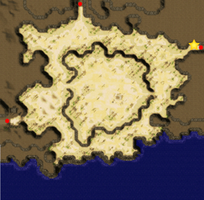
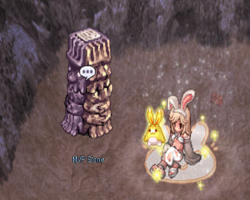
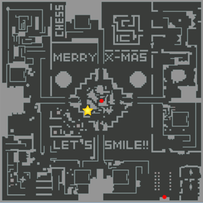
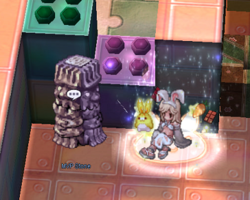
Lutie, Snow Village (xmas 141, 43) | '''Lutie, Snow Village (xmas 141, 43)''' | ||
[[File:imagen_2024-09-23_000011209.png|171px]][[File:garmtomb.png|270px]] | [[File:imagen_2024-09-23_000011209.png|171px]][[File:garmtomb.png|270px]] | ||
| Line 241: | Line 238: | ||
Hatii card (0.01%) | Hatii card (0.01%) | ||
|- | |- | ||
| | | '''Golden Thief Bug''' | ||
Golden Thief Bug | |||
[[File:Golden_Thief_Bug.gif]] | [[File:Golden_Thief_Bug.gif]] | ||
| Line 254: | Line 250: | ||
1x Available Instance attempt | 1x Available Instance attempt | ||
|| | || | ||
Prontera Culvert F3 (prt_sewb3 15,181) | '''Prontera Culvert F3 (prt_sewb3 15,181)''' | ||
[[File:imagen_2024-09-23_000856735.png|203px]][[File:GTBtomb.png|250px]] | [[File:imagen_2024-09-23_000856735.png|203px]][[File:GTBtomb.png|250px]] | ||
| Line 268: | Line 264: | ||
Golden Thief Bug card (0.01%) | Golden Thief Bug card (0.01%) | ||
|- | |- | ||
| Maya | | '''Maya''' | ||
[[File:Maya.gif]] | [[File:Maya.gif]] | ||
| Line 280: | Line 276: | ||
1x available Instance attempt | 1x available Instance attempt | ||
|| | || | ||
Ant Hell F1 (anthell01 250, 37) | '''Ant Hell F1 (anthell01 250, 37)''' | ||
[[File:imagen_2024-09-23_001718453.png|188px]][[File:Mayatomb.png|250px]] | [[File:imagen_2024-09-23_001718453.png|188px]][[File:Mayatomb.png|250px]] | ||
| Line 296: | Line 292: | ||
Maya Card (0.01%) | Maya Card (0.01%) | ||
|- | |- | ||
| Mistress | | '''Mistress''' | ||
[[File:Mistress.gif]] | [[File:Mistress.gif]] | ||
| Line 308: | Line 304: | ||
1x available Instance attempt | 1x available Instance attempt | ||
|| | || | ||
Mt.Mjolnir (mjolnir_03 220, 201) | '''Mt.Mjolnir (mjolnir_03 220, 201)''' | ||
[[File:imagen_2024-09-23_002427121.png|204px]][[File:Mistresstomb.png|250px]] | [[File:imagen_2024-09-23_002427121.png|204px]][[File:Mistresstomb.png|250px]] | ||
| Line 320: | Line 316: | ||
Mistress card (0.01%) | Mistress card (0.01%) | ||
|- | |- | ||
| Moonlight Flower | | '''Moonlight Flower''' | ||
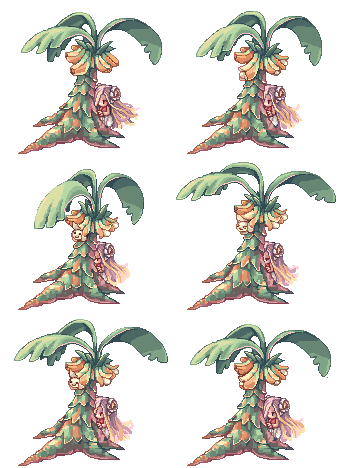
[[File:Moonlight_Flower1.gif]] | [[File:Moonlight_Flower1.gif]] | ||
| Line 332: | Line 328: | ||
1x available Instance attempt | 1x available Instance attempt | ||
|| | || | ||
Payon Cave F4 (pay_dun03 122, 66) | '''Payon Cave F4 (pay_dun03 122, 66)''' | ||
[[File:imagen_2024-09-23_003020699.png|198px]][[File:MoonlightFlowertomb.png|250px]] | [[File:imagen_2024-09-23_003020699.png|198px]][[File:MoonlightFlowertomb.png|250px]] | ||
| Line 346: | Line 342: | ||
Moonlight Flower Card (0.01%) | Moonlight Flower Card (0.01%) | ||
|- | |- | ||
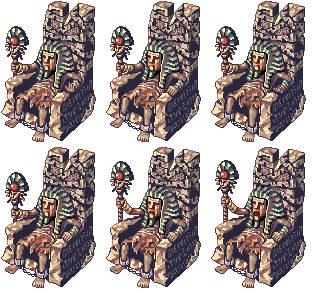
| Osiris | | '''Osiris''' | ||
[[File:Osiris.gif]] | [[File:Osiris.gif]] | ||
| Line 358: | Line 354: | ||
1x available Instance attempt | 1x available Instance attempt | ||
|| | || | ||
Inside Pyramid F3 (moc_pryd03 175, 06) | '''Inside Pyramid F3 (moc_pryd03 175, 06)''' | ||
[[File:imagen_2024-09-23_003444736.png|204px]][[File:Osiristomb.png|250px]] | [[File:imagen_2024-09-23_003444736.png|204px]][[File:Osiristomb.png|250px]] | ||
| Line 372: | Line 368: | ||
Osiris Card (0.01%) | Osiris Card (0.01%) | ||
|- | |- | ||
| Orc Hero | | '''Orc Hero''' | ||
[[File:Orc_Hero.gif]] | [[File:Orc_Hero.gif]] | ||
| Line 384: | Line 380: | ||
1x available Instance attempt | 1x available Instance attempt | ||
|| | || | ||
Britoniah (gef_fild13 195, 24) | '''Britoniah (gef_fild13 195, 24)''' | ||
[[File:imagen_2024-09-23_004056460.png|200px]][[File:Orc_Herotomb.png|250px]] | [[File:imagen_2024-09-23_004056460.png|200px]][[File:Orc_Herotomb.png|250px]] | ||
| Line 402: | Line 398: | ||
Orc Hero Card (0.01%) | Orc Hero Card (0.01%) | ||
|- | |- | ||
| Phreeoni | | '''Phreeoni''' | ||
[[File:Phreeoni.gif]] | [[File:Phreeoni.gif]] | ||
| Line 414: | Line 410: | ||
1x available Instance attempt | 1x available Instance attempt | ||
|| | || | ||
Sograt Desert (moc_fild18 364, 308) | '''Sograt Desert (moc_fild18 364, 308)''' | ||
[[File:imagen_2024-09-23_004810291.png|204px]][[File:Phreeonitomb.png|250px]] | [[File:imagen_2024-09-23_004810291.png|204px]][[File:Phreeonitomb.png|250px]] | ||
| Line 428: | Line 424: | ||
Phreeoni Card (0.01%) | Phreeoni Card (0.01%) | ||
|- | |- | ||
| Stormy Knight | | '''Stormy Knight''' | ||
[[File:Stormy_Knight.gif]] | [[File:Stormy_Knight.gif]] | ||
|| | || | ||
Party Leader | Party Leader (just for Instance creation) | ||
1x Bronze Instance Key | 1x Bronze Instance Key (just for Instance creation) | ||
1+ Players in Party | 1+ Players in Party | ||
| Line 440: | Line 436: | ||
1x available Instance attempt | 1x available Instance attempt | ||
|| | || | ||
Toy Factory Warehouse (xmas_dun01 104, 122) | '''Toy Factory Warehouse (xmas_dun01 104, 122)''' | ||
[[File:imagen_2024-09-23_012325039.png|203px]][[File:Stormytomb.png|250px]] | [[File:imagen_2024-09-23_012325039.png|203px]][[File:Stormytomb.png|250px]] | ||
| Line 452: | Line 448: | ||
Stormy Knight Card (0.01%) | Stormy Knight Card (0.01%) | ||
|- | |- | ||
| Tao Gunka | | '''Tao Gunka | ||
''' | |||
[[File:Tao_Gunka.gif]] | [[File:Tao_Gunka.gif]] | ||
|| | || | ||
| Line 463: | Line 459: | ||
1x available Instance attempt | 1x available Instance attempt | ||
|| Beach town, Comodo (comodo 33, 208) | || '''Beach town, Comodo (comodo 33, 208)''' | ||
[[File:imagen_2024-09-23_012749263.png|211px]][[File:TaoGunkatomb.png|250px]] | [[File:imagen_2024-09-23_012749263.png|211px]][[File:TaoGunkatomb.png|250px]] | ||
Revision as of 07:34, 23 September 2024
Description

The MVP instance system allows players to access content that is usually limited to a number of restrictions, whether it be time, equipment or even availability. Factors that limit access to certain content allowing players to participate in hunts that may or may not be limited to them.
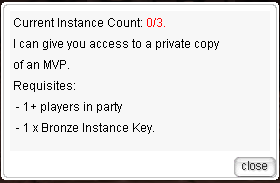
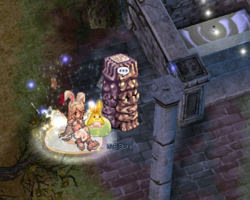
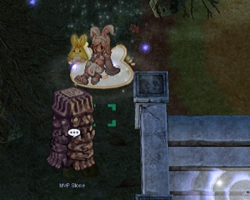
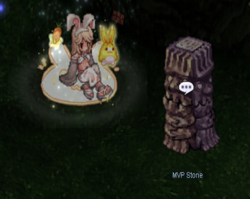
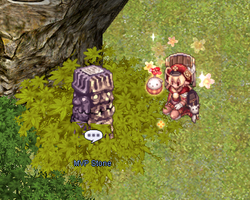
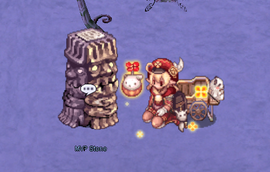
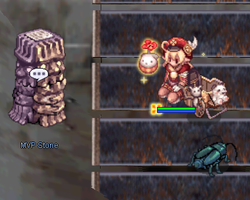
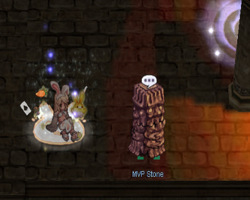
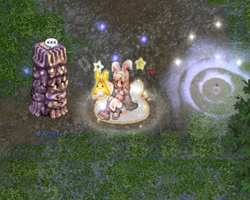
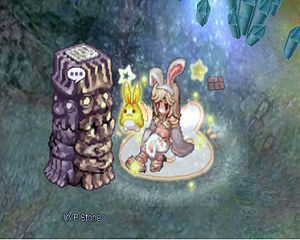
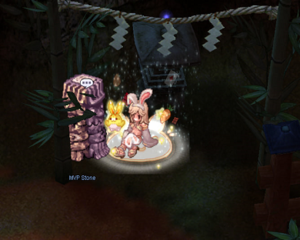
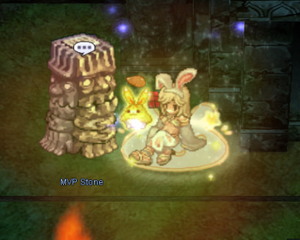
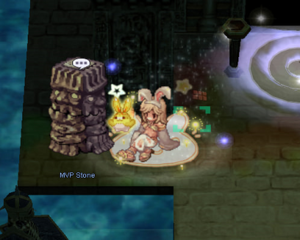
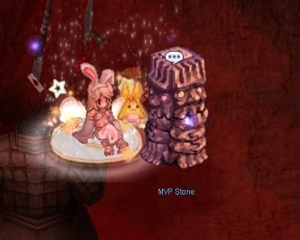
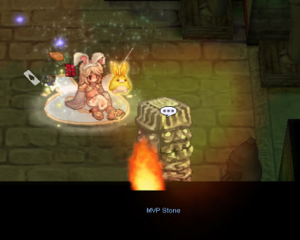
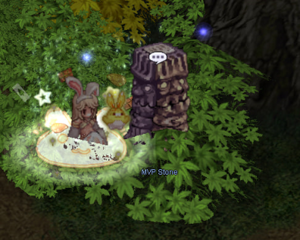
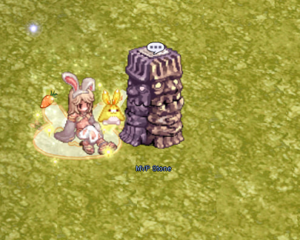
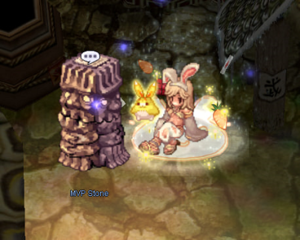
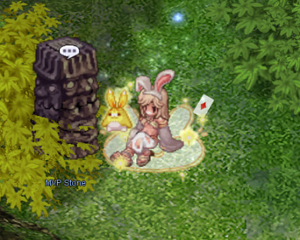
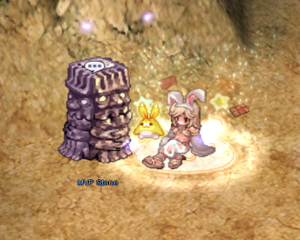
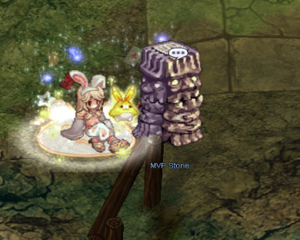
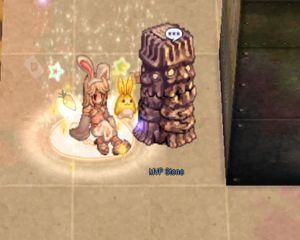
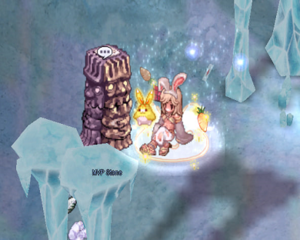
In each map, either the same or a previous one to the mvp location, there will be an NPC called MVP Stone that will allow you to create an instance.
Instances are clones of the maps on which the MVP normally appears. If an MVP has a fixed spawn, it will appear there. All the monsters and hazards of the map exist in the cloned maps. The monsters in the instance do not give experience or loot but the MvP has all their characteristics, experience, loot and card possibility (0,01%).
Each instance has almost the same mechanics, you must eliminate a specific amount of enemies on the map in order to summon the MVP on the map (50).
To access the instance it is necessary to fulfill the requirements and have a key to enter, such key can be purchased through GC or Voting Rewards.
Limitations
- There are 3 instances per account, regardless of whether you are the one who creates or only enters, the cooldown is 7 days from the first time you enter.
- You have a time limit of one hour to complete the instance.
- Minimum to enter or create the instance requires a group with 1 or more players of level 84-99.
- Map quests are required for those MVPs who are in an area that requires a quest (i.e. Incantation requires the Amatsu Dungeon quest).
- As mentioned before, only the MVP has rewards, the normal mob has NO EXP OR LOOT.
Disabled Skills
Inside all Instances the followings skills are disabled by default:
- Steal.
- Gank.
- Hocus Pocus.
Instance Keys
Instance Keys are the main component required to enter MVP Instances. There are 4 Tiers of Instance Keys and MVPs, requiring 1 Instance Key in order to enter one MVP of that tier.
| Item | Sources | Number of available MVPs |
|---|---|---|
|
Bronze Key (ID 500100) |
|
15 |
|
Silver Key (ID 500101) |
|
14 |
|
Gold Key (ID 500102) |
|
11 |
|
Platinum Key (ID 500103) |
|
5 |
Mvp List
The MvPs are divided into 4 tiers, which will be announced as they are implemented. HOWEVER an mvp can be in a tier and then move up or down without notice, please keep this information in mind.
Tips
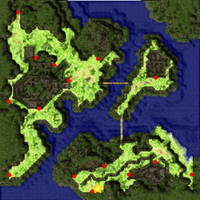
For search any tomb you can use /navi command and put the dungeon and location, for example for dracula tomb
/navi gef_dun00 99/165 then only follow the instructions
Bronze tier MvP's
| Name | Creation Requirements | Location | Items |
|---|---|---|---|
|
Dracula |
Party Leader (just for Instance creation) 1x Bronze Instance Key (just for Instance creation) 1+ Players in Party 1x available Instance attempt |
Geffen Dungeon F1 (gef_dun00 101, 165) |
Yggdrasil Berry (100%) Ancient Cape (0.45%) Ballista (0.15%) Dracula Card (0.01%) |
| Doppelganger |
Party Leader(just for Instance creation) 1x Bronze Instance Key(just for Instance creation) 1+ Players in Party 1x available Instance attempt |
Geffen Dungeon F2 (gef_dun01 191, 39) |
Elunium (100%) Oridecon (81%) Spiky Band (10.50%) Broad Sword (6.60%) Doppelganger Card (0.01%) |
|
Drake |
Party Leader (just for Instance creation) 1x Bronze Instance Key(just for Instance creation) 1+ Players in Party 1x available Instance attempt |
Sunken Ship F1 (treasure01 81, 172) |
Elunium (96%) Saber [3] (18%) Haeddoggum [2] (12%) Corsair (10.50%) Krasnaya [3] (3%) Drake Card (0.01%) |
| Eddga |
Party Leader (just for Instance creation) 1x Bronze Instance Key (just for Instance creation) 1+ Players in Party 1x available Instance attempt |
Sograt Desert (moc_fild03 173, 25) |
Elunium (71.07%) Katar of Raging Blaze (15.45%) Fireblend (4.64%) Krierg [3] (3.09%) Eddga card (0.01%) |
| Evil Snake Lord |
Party Leader (just for Instance creation) 1x Bronze Instance Key (just for Instance creation) 1+ Players in Party 1x available Instance attempt |
Hermit's Checkers (gon_dun02 147, 258) |
Gae Bolg (15%) Hellifre (2.40%) Evil Snake Lord card (0.01%) |
| Garm |
Party Leader (just for Instance creation) 1x Bronze Instance Key (just for Instance creation) 1+ Players in Party 1x available Instance attempt |
Lutie, Snow Village (xmas 141, 43) |
Elunium (100%) Oridecon (87%) Hatii Claw [1] (15%) Katar of Frozen Icicle (15%) Ice Falchion (4.50%) Hatii card (0.01%) |
| Golden Thief Bug |
Party Leader(just for Instance creation) Bronze Instance Key (just for Instance creation) Players in Party 1x Available Instance attempt |
Prontera Culvert F3 (prt_sewb3 15,181) |
Elunium (60%) Oridecon (45%) Gold (30%) Emperium (9%) Golden Thief Bug card (0.01%) |
| Maya |
Party Leader (just for Instance creation) 1x Bronze Instance Key (just for Instance creation) 1+ Players in Party 1x available Instance attempt |
Ant Hell F1 (anthell01 250, 37) |
Elunium (100%) Armlet of Obedience (15%) Queen's Hair Ornament (15%) Safety Ring (6%) Mother's Nightmare (0.30%) Maya Card (0.01%) |
| Mistress |
Party Leader (just for Instance creation) 1x Bronze Instance Key(just for Instance creation) 1+ Players in Party 1x available Instance attempt |
Mt.Mjolnir (mjolnir_03 220, 201) |
Elunium (100%) Old Card Album (30%) Coronet (7.5%) Mistress card (0.01%) |
| Moonlight Flower |
Party Leader (just for Instance creation) 1x Bronze Instance Key (just for Instance creation) 1+ Players in Party 1x available Instance attempt |
Payon Cave F4 (pay_dun03 122, 66) |
Elunium (78%) Silver Knife of Chastity (19.50%) Long Mace (4.50%) Moonlight Dagger (3%) Moonlight Flower Card (0.01%) |
| Osiris |
Party Leader (just for Instance creation) 1x Bronze Instance Key (just for Instance creation) 1+ Players in Party 1x available Instance attempt |
Inside Pyramid F3 (moc_pryd03 175, 06) |
Hand of god (30%) Jamadhar [1] (18%) Assassin Dagger (4.50%) Chakram [2] (3%) Osiris Card (0.01%) |
| Orc Hero |
Party Leader (just for Instance creation) 1x Bronze Instance Key (just for Instance creation) 1+ Players in Party 1x available Instance attempt |
Britoniah (gef_fild13 195, 24) |
Heroic Emblem (100%) Elunium (100%) Orcish Sword (30%) Monkey Circlet (15%) Light Epsilon (4.50%) Giant Axe [1] (3%) Orc Hero Card (0.01%) |
| Phreeoni |
Party Leader (just for Instance creation) 1x Bronze Instance Key (just for Instance creation) 1+ Players in Party 1x available Instance attempt |
Sograt Desert (moc_fild18 364, 308) |
Elunium (87) Fortune Sword (15%) Sucsamad (4.50%) Weinha [2] 3% Phreeoni Card (0.01%) |
| Stormy Knight |
Party Leader (just for Instance creation) 1x Bronze Instance Key (just for Instance creation) 1+ Players in Party 1x available Instance attempt |
Toy Factory Warehouse (xmas_dun01 104, 122) |
Elunium (100%) Ring [1] (6%) Zephyrus (4.50%) Stormy Knight Card (0.01%) |
| Tao Gunka |
Party Leader (just for Instance creation) 1x Bronze Instance Key (just for Instance creation) 1+ Players in Party 1x available Instance attempt |
Beach town, Comodo (comodo 33, 208) |
Gemstone (100%) Binoculars (12%) Gemmed Sallet [1] (0.15%) Tao Gunka Card (0.01%) |
Silver Tier
| Name | Creation Requirements | Location |
|---|---|---|
|
(abyss_02 134,274) | |
|
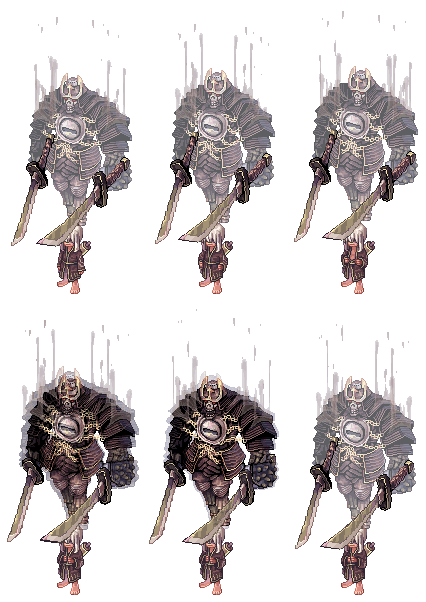
Samurai Spectre |
|
(ama_dun02 189,116) |
|
Lady Tanee |
|
(ayo_dun01 18,283) |
|
Pharaoh |
|
(in_sphinx4 126,116) |
|
Bacsojin |
|
(lou_dun02 174,264) |
|
Amon Ra |
|
(moc_pryd05 213,8) |
|
Gopinich |
|
(mosk_dun02 259,123) |
|
Baphomet |
|
(prt_maze02 92,177) |
|
Turtle General |
|
(tur_dun03 225,72) |
|
Orc Lord |
|
(gef_fild09 219,35) |
|
Atroce |
|
(ra_fild02 366,275) |
|
Boitata |
|
(bra_dun01 204,42) |
|
Ygnizem Cenia |
|
(lhz_dun01 132,15) |
|
Ktullanux |
|
(ice_dun02 140,279) |
Gold Tier
| Name | Creation Requirements | Location | Notable Loot | style="background-color: #8B0000; color: white; |
|---|---|---|---|
|
Fallen Bishop Hibram |
|
(abbey01 328,79) | |
|
RSX-0806 |
|
(ein_dun01 28,211) | |
|
Dark Lord |
|
(gl_church 11,298) | |
|
Vesper |
|
(jupe_ele_r 41,746) | |
|
Kiel D-01 |
|
(kh_dun01 28,211) | |
|
Gloom Under Night |
|
(ra_san04 114,21) | |
|
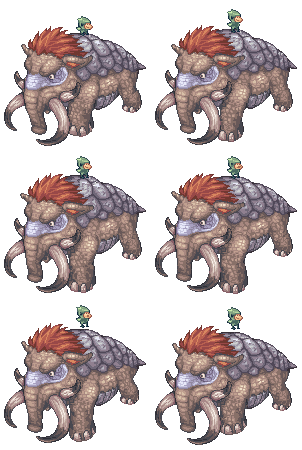
Hardrock Mammoth |
|
(man_fild01 95,60) | |
|
Tendrillion |
|
(spl_fild02 94,28) | |
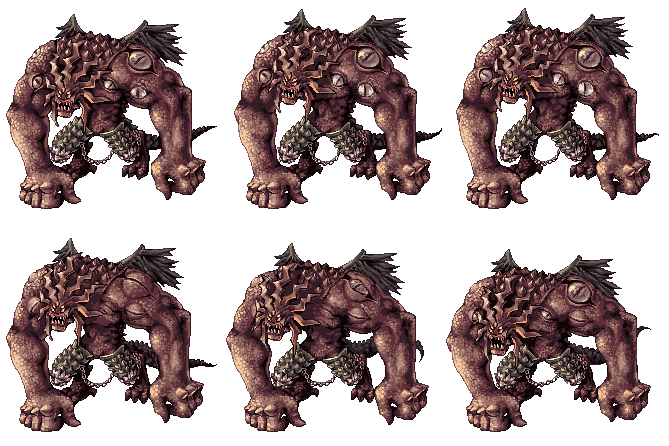
|
Lord of Death |
|
(nif_fild02 373,241) | |
|
Thanatos |
|
(tha_t06 114,107) | |
|
Scaraba Queen |
|
(dic_dun01 299,101) |
Platinum Tier
| Name | Creation Requirements | Location |
|---|---|---|
|
Wounded Morroc |
|
(moc_fild20 43,178) |
|
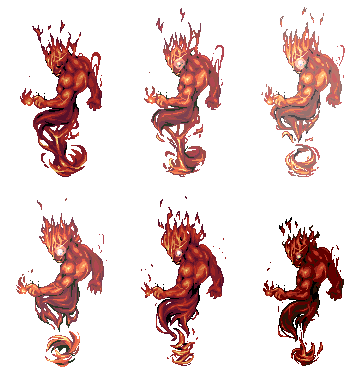
Ifrit |
|
(thor_v2 177,691) |
|
Beelzebub |
|
(abbey02 141,285) |
|
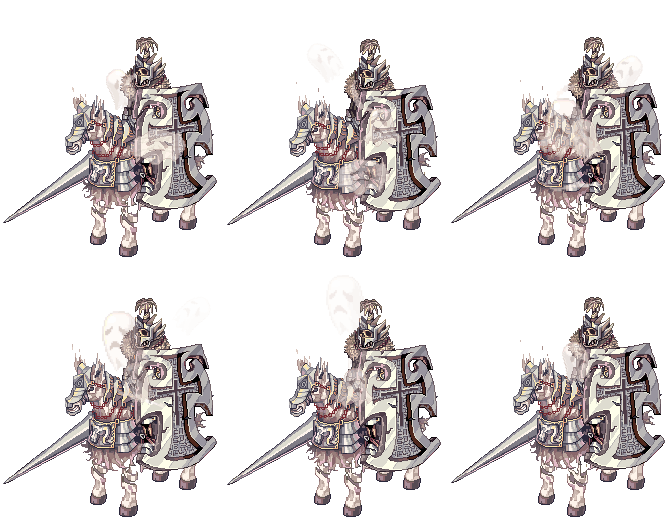
Fallen Heroes |
|
(lhz_dun02 153,125) |
|
Valkyrie Randgris |
|
(odin_tem02 257,370) |
Special Instances
Thanatos Upper Floors
Thanatos Upper Floors works different from the other MVP Instances offering the same content as the Open World counterpart. Upon accessing, if you have the Black Key it will transform once you pass through the 1st warp to level 7.
